Interface:
How to access the management interface?
How do I enable the MFA layer to strengthen the security of my authentication processes?
What types of volume can we create on the management interface?
How to create volume via the management interface?
iSCSI Volume:
How to create an iSCSI volume?
How do I connect to my iSCSI volume on Ubuntu Linux?
How do I connect to my iSCSI volume on Windows?
NFS Volume:
How to create a NFS volume?
How do I connect to my NFS volume on Ubuntu Linux?
How do I connect to my NFS volume on Windows?
S3 Volume:
How to create an S3 volume?
How to modify an S3 volume?
Snapshot:
What is the purpose of the snapshot feature?
How is a snapshot billed?
How to access the management interface?
If you have signed the agreement:
- The Account Manager adds user into system
- System syncs overnight
- Go to interface to reset password
- Log in interface.
How do I enable the MFA layer to strengthen the security of my authentication processes?
Check out the documentation and demo videos on our Multi Factor Authentication (MFA) FAQ page.
What types of volume can we create on the management interface?
You can create 3 types of volumes: NFS (or S3 block storage) and iSCSI:
- iSCSI
- NFS
- S3 block storage
How to create volume via the management interface?
To create a new volume, press the 'Add new volume' button.
You should add a Volume Name, Size (in TB), Description and Type (iSCSI / NFS or S3).
How to create an iSCSI volume?
Enable CHAP Username & Password: (Optional, default: No CHAP)
You can enable CHAP Username & Password, and enter a CHAP username and CHAP password.
This CHAP username and CHAP password is only used to connect to the target (not for the discovery of the target).
Please note that Your CHAP username should differ for all your volumes.
iSCSI Client Name (IQN): (Optional, default: empty)
If you want to add a IQN (iSCSI Qualified Name), you can add a IQN in the form of iqn.2017-09.be.belnet:test.
ISCSI Client IP Address or Subnet: (Optional, default: empty/everyone)
You can add some Network addresses that have access to your iSCSI target.
This can be entered as CIDR notation or IP Address (e.g. 193.190.198.1,193.190.198.1/32 or 193.190.198.0/24)
Please note: if you don't specify one of the following, your iSCSI target is open for everyone.
If you click 'Add Volume', a task started to create the volume.
This can take a while (depending on the size and type of the volume), after the task is executed your volume is ready to be used.
How do I connect to my iSCSI volume on Ubuntu Linux?
- Install a iSCSI initiator, here we choose open-iscsi:
sudo apt-get install open-iscsi - Configure your initiator:
/etc/iscsi/initiatorname.iscsi InitiatorName=<your IQN used while creating the volume> /etc/iscsi/iscsid.conf // if you want to login into your volume on boot node.startup = automatic //CHAP settings node.session.auth.authmethod = CHAP node.session.auth.username = <CHAP Username> node.session.auth.password = <CHAP Password> - Discover your volume:
sudo iscsiadm -m discovery -t st -p <IP Address> <IP Address>:3260,1 iqn.2017-09.be.belnet:<Volume Name> - Login into your volume:
    sudo iscsiadm -m node --target iqn.2017-09.be.belnet:<Volume Name> -p <IP Address> --login
    Logging in to [iface: default, target: iqn.2017-09.be.belnet:<Volume Name>, portal: <IP Address>,3260] (multiple)
    Login to [iface: default, target: iqn.2017-09.be.belnet:<Volume Name>, portal:<IP Address> ,3260] successful.
How do I connect to my iSCSI volume on Windows?
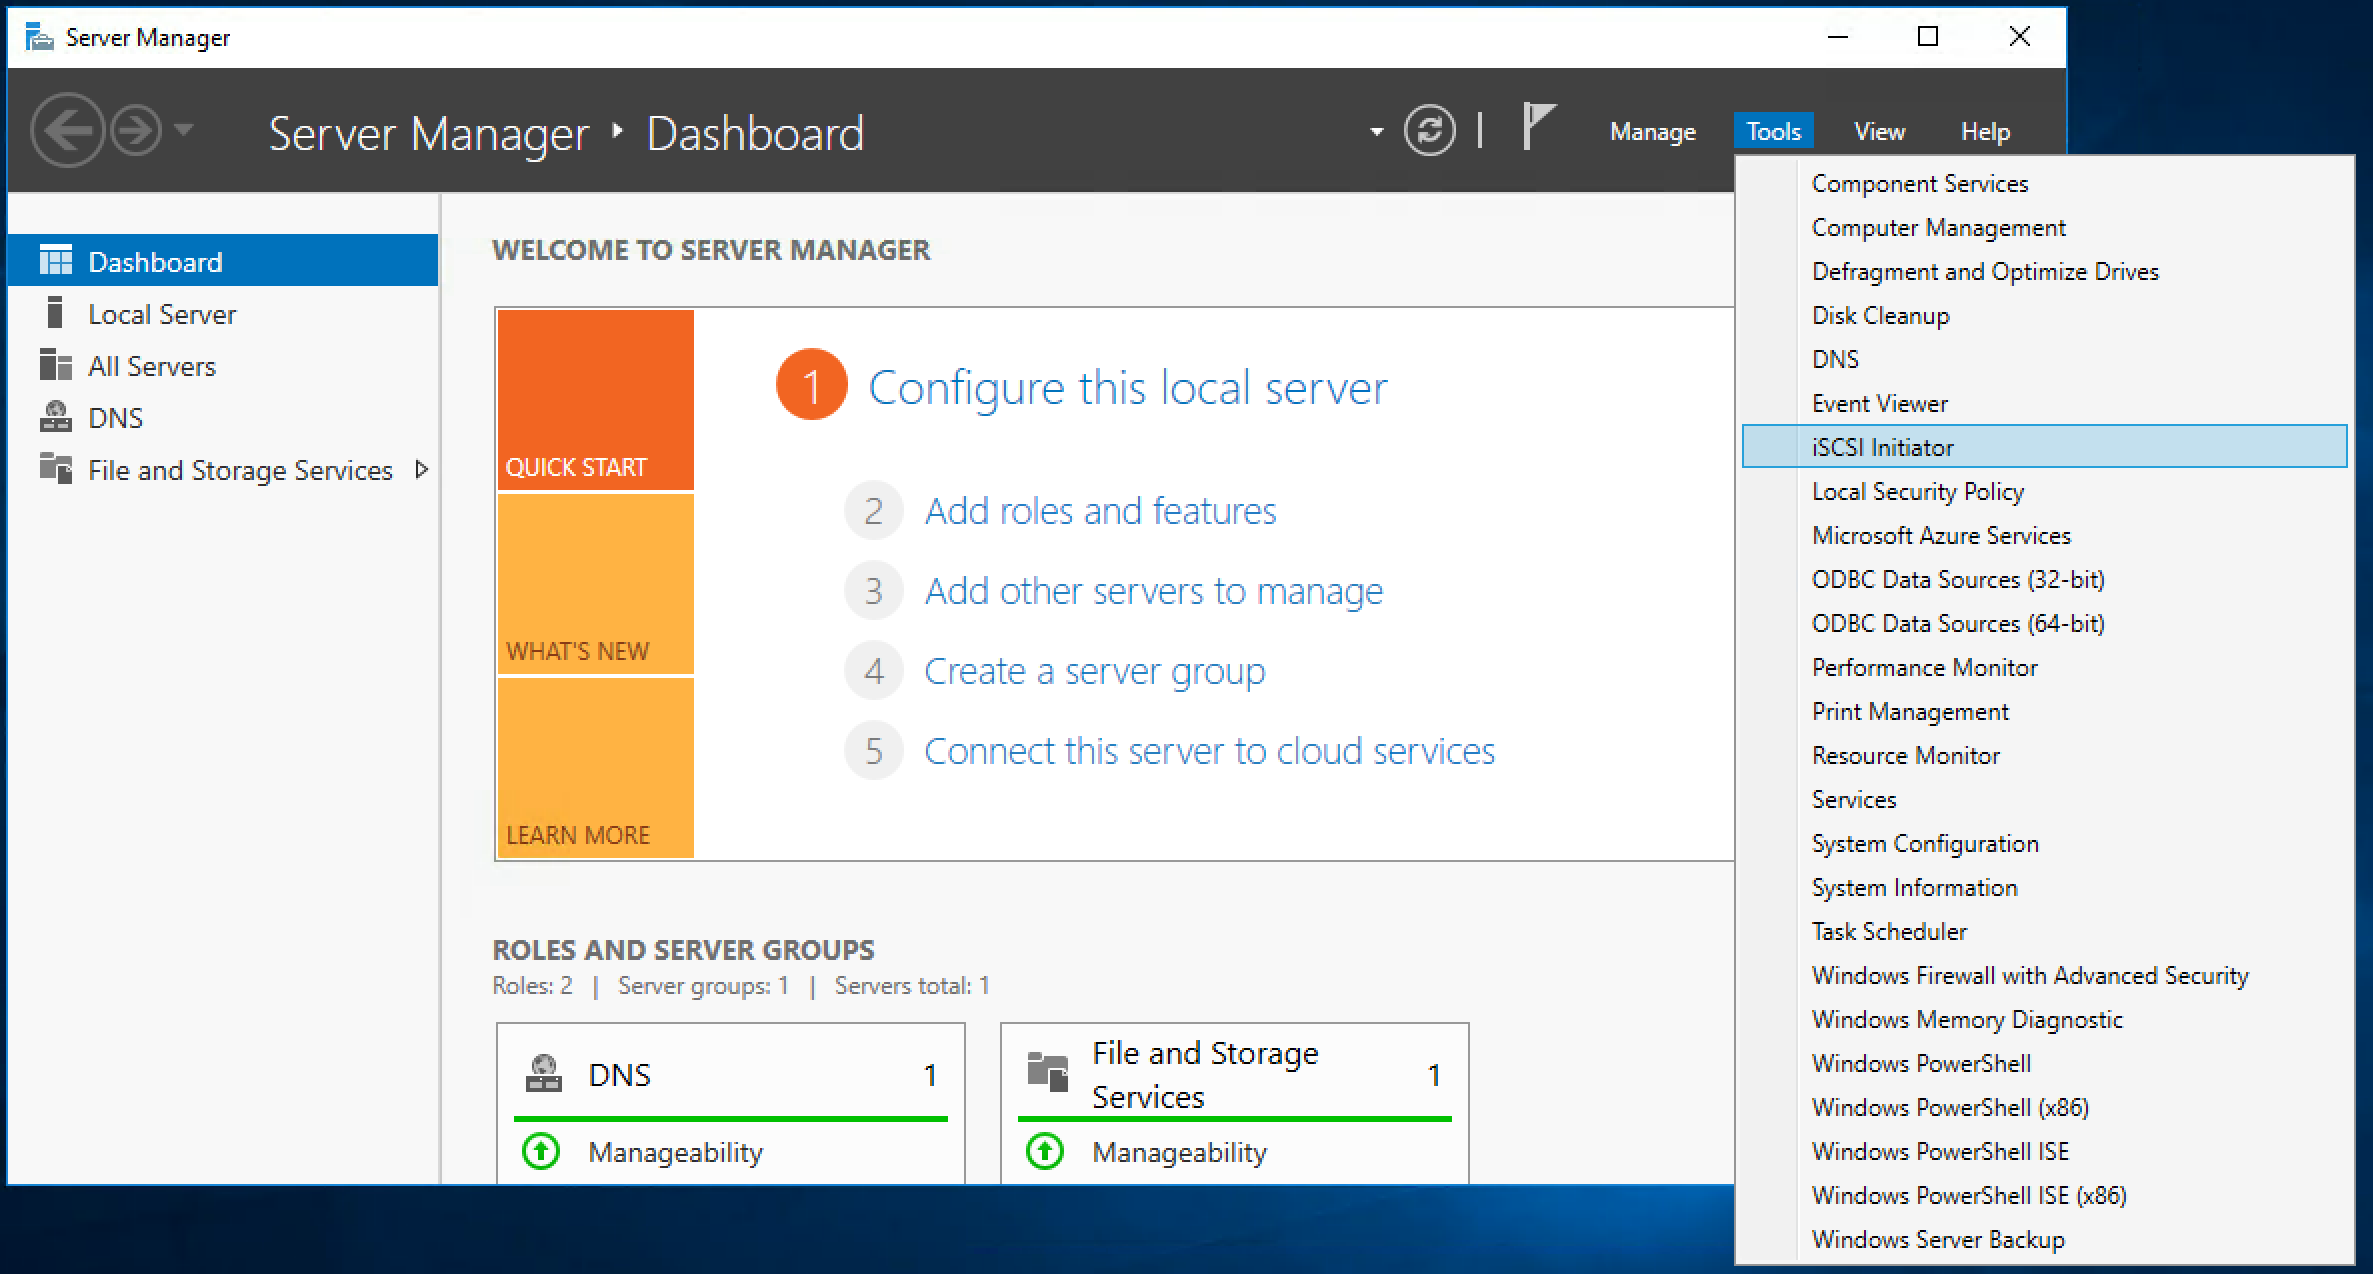
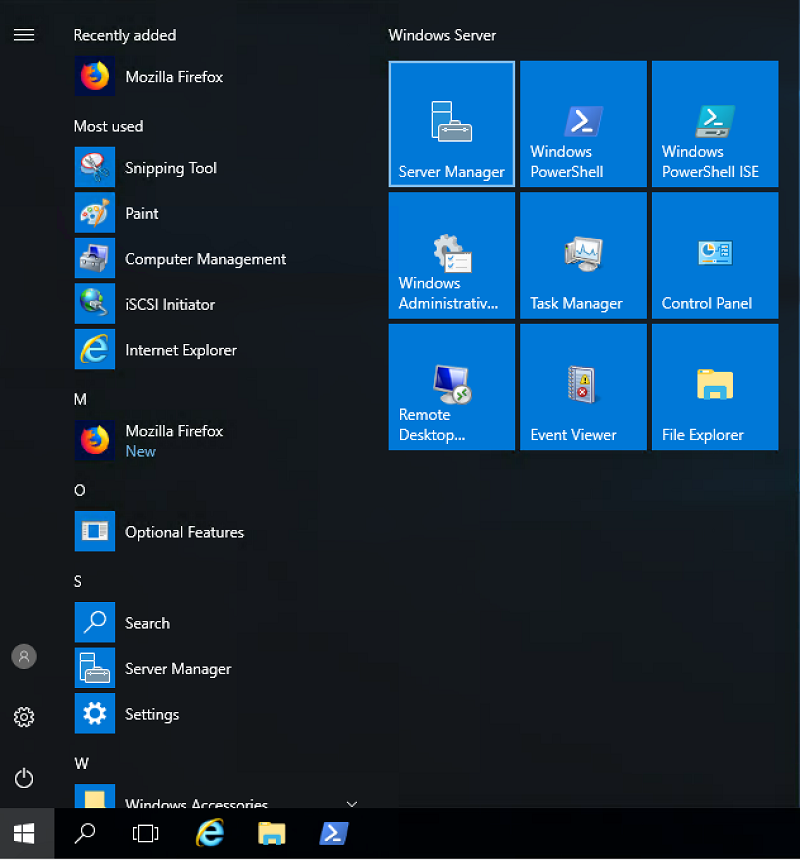
1. Open Windows Server Manager (start => Server manager)

2. Click on 'Tools' => iSCSI initiator
3. Click 'Yes' to run the ISCSI initiator Service (this should be done only the first time, after that the service is started automatically)

4. Ensure that your IQN is correctly entered on the webinterface:
Click on 'Configuration' and check that the 'Inititor name' is correctly entered in the web GUI (if you entered one), otherwise the volume will not be discovered.

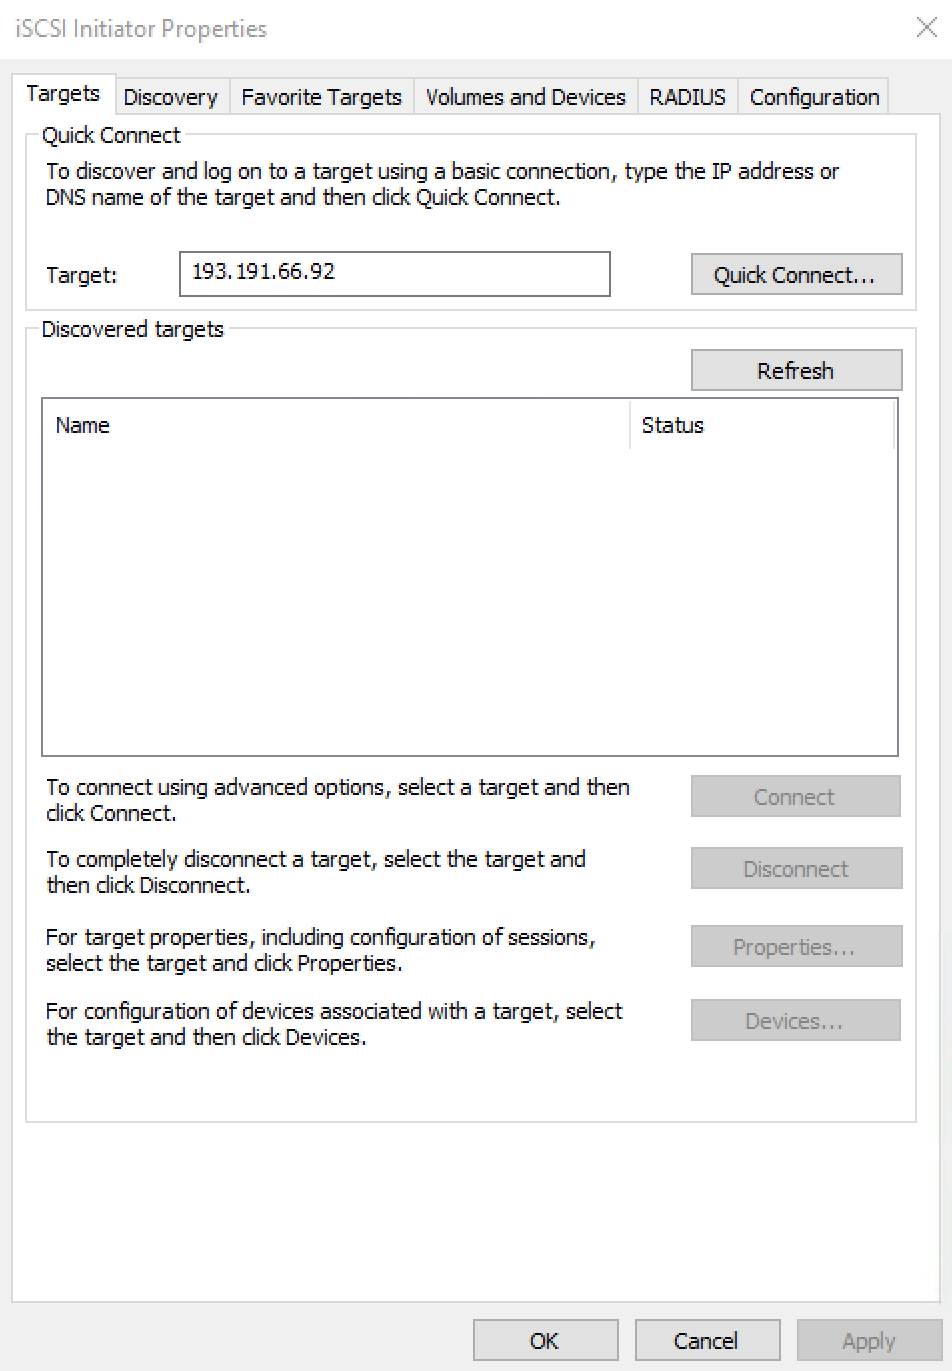
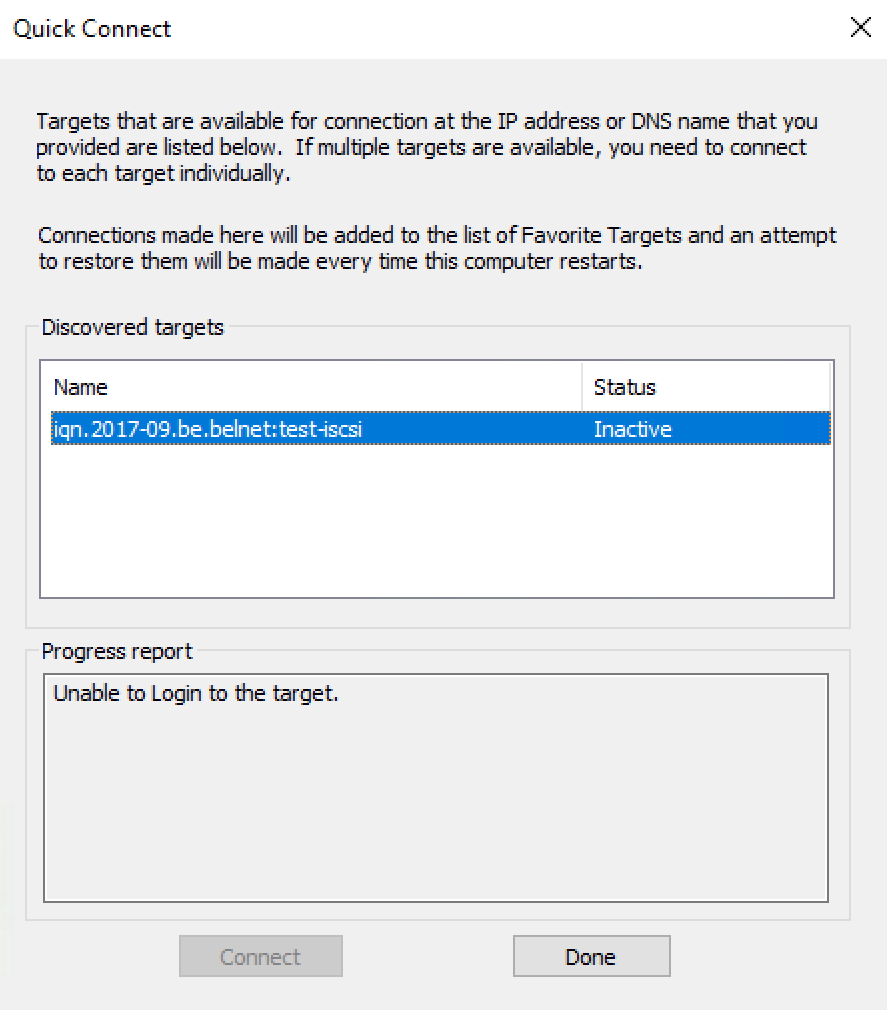
5. Enter your Volume IP in the 'Targets' field and click 'Quick Connect' and click 'Done'.
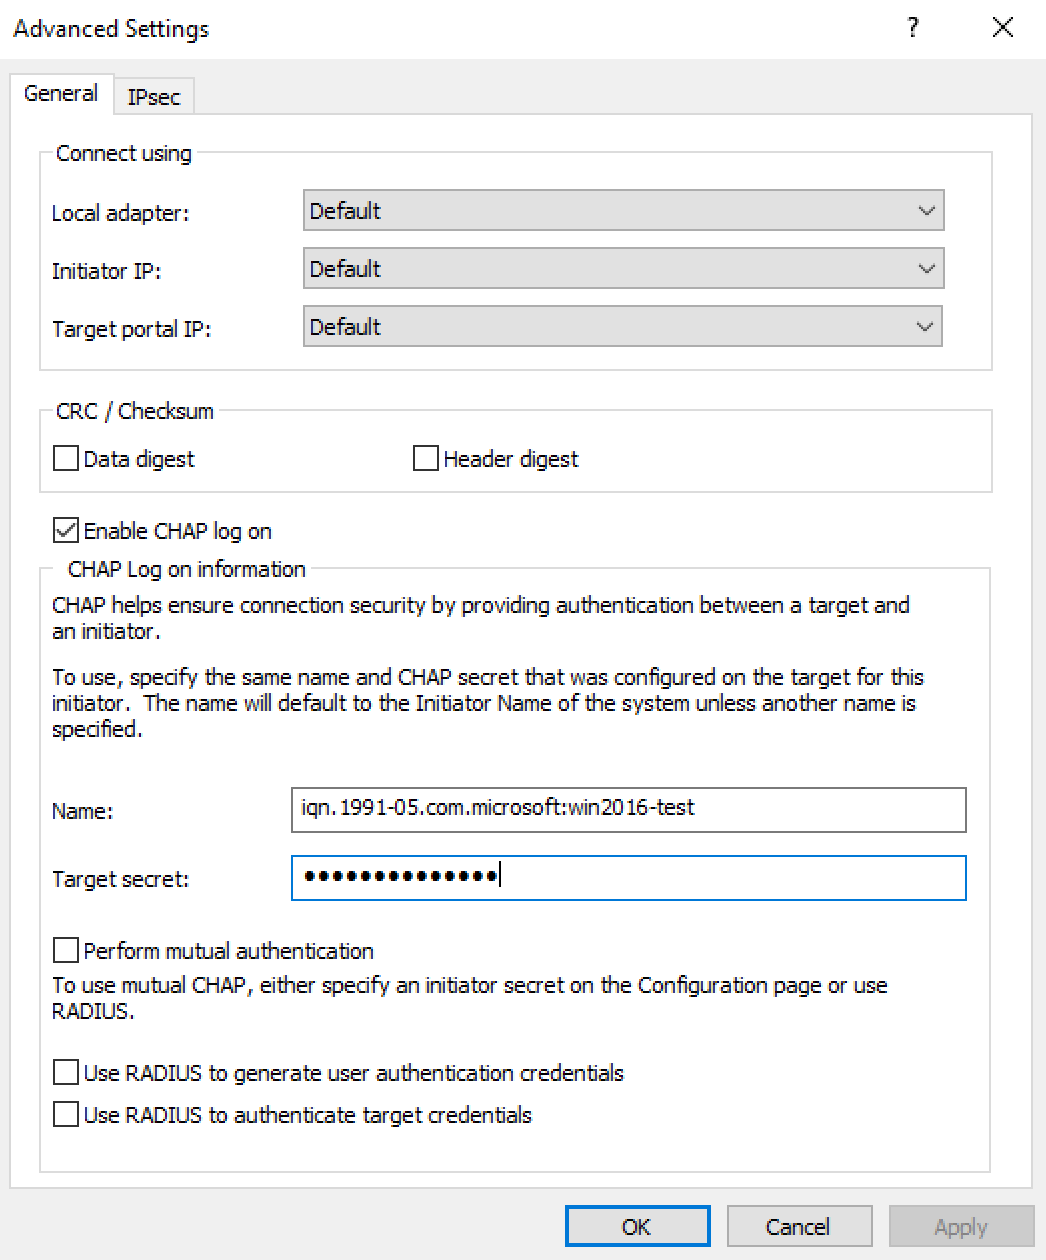
6. Click Connect => Advanced.
7. Click on 'Enable CHAP logon' and enter your CHAP credentials and click on 'OK'. If everything goes well you should now see that your target is connected.
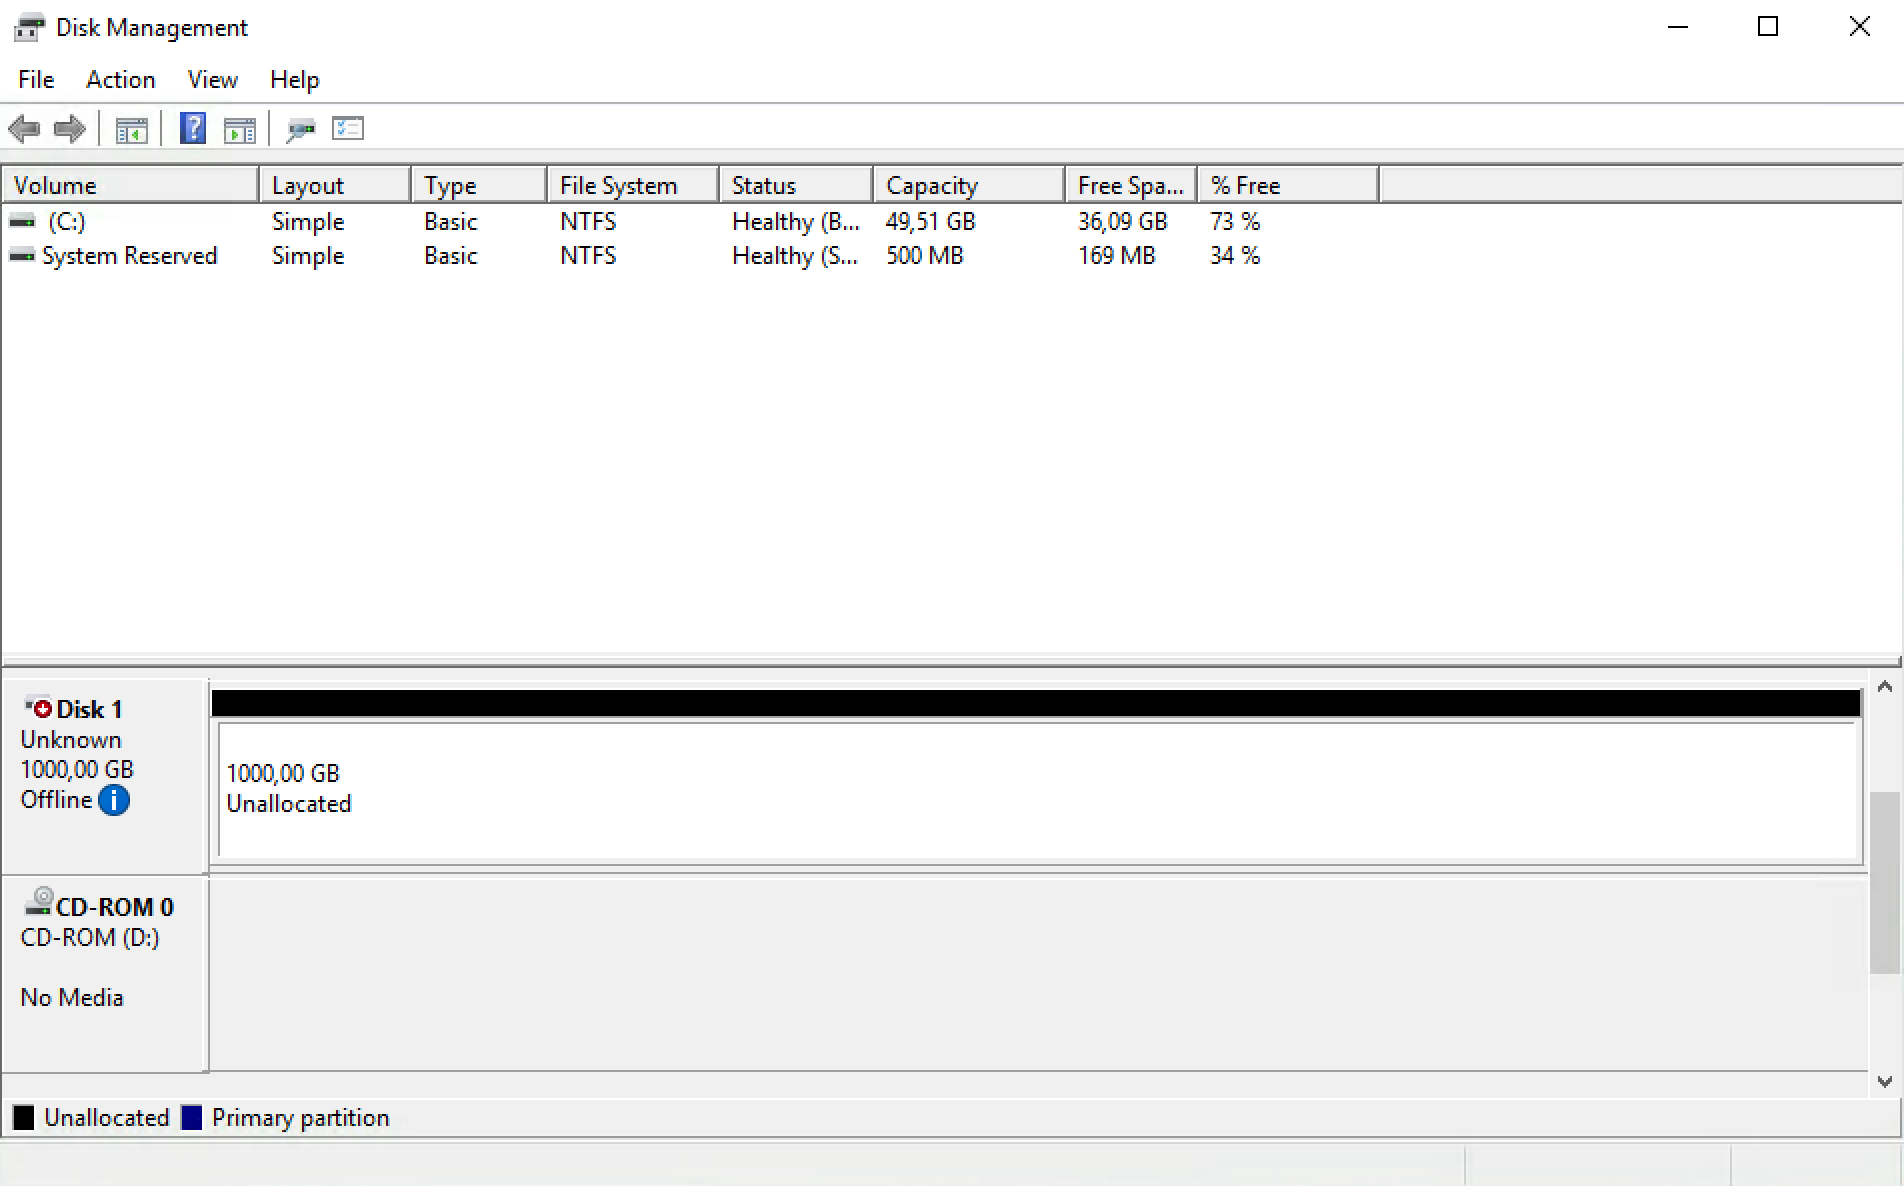
8. Go to 'Disk Managment' tools (right click on the start menu and click 'Disk Management').
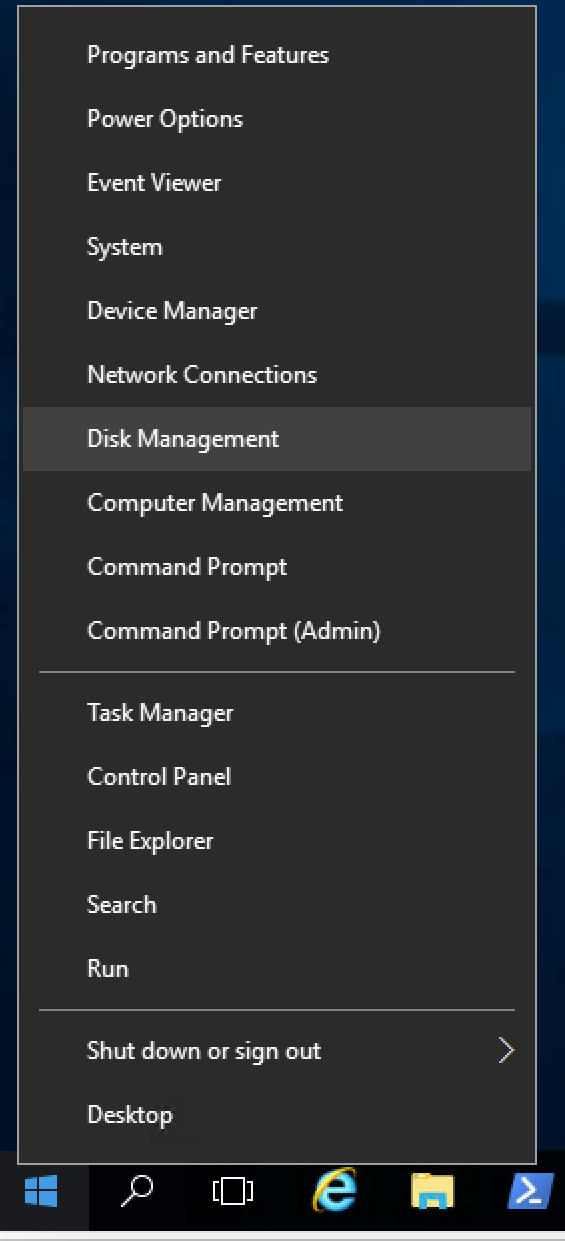
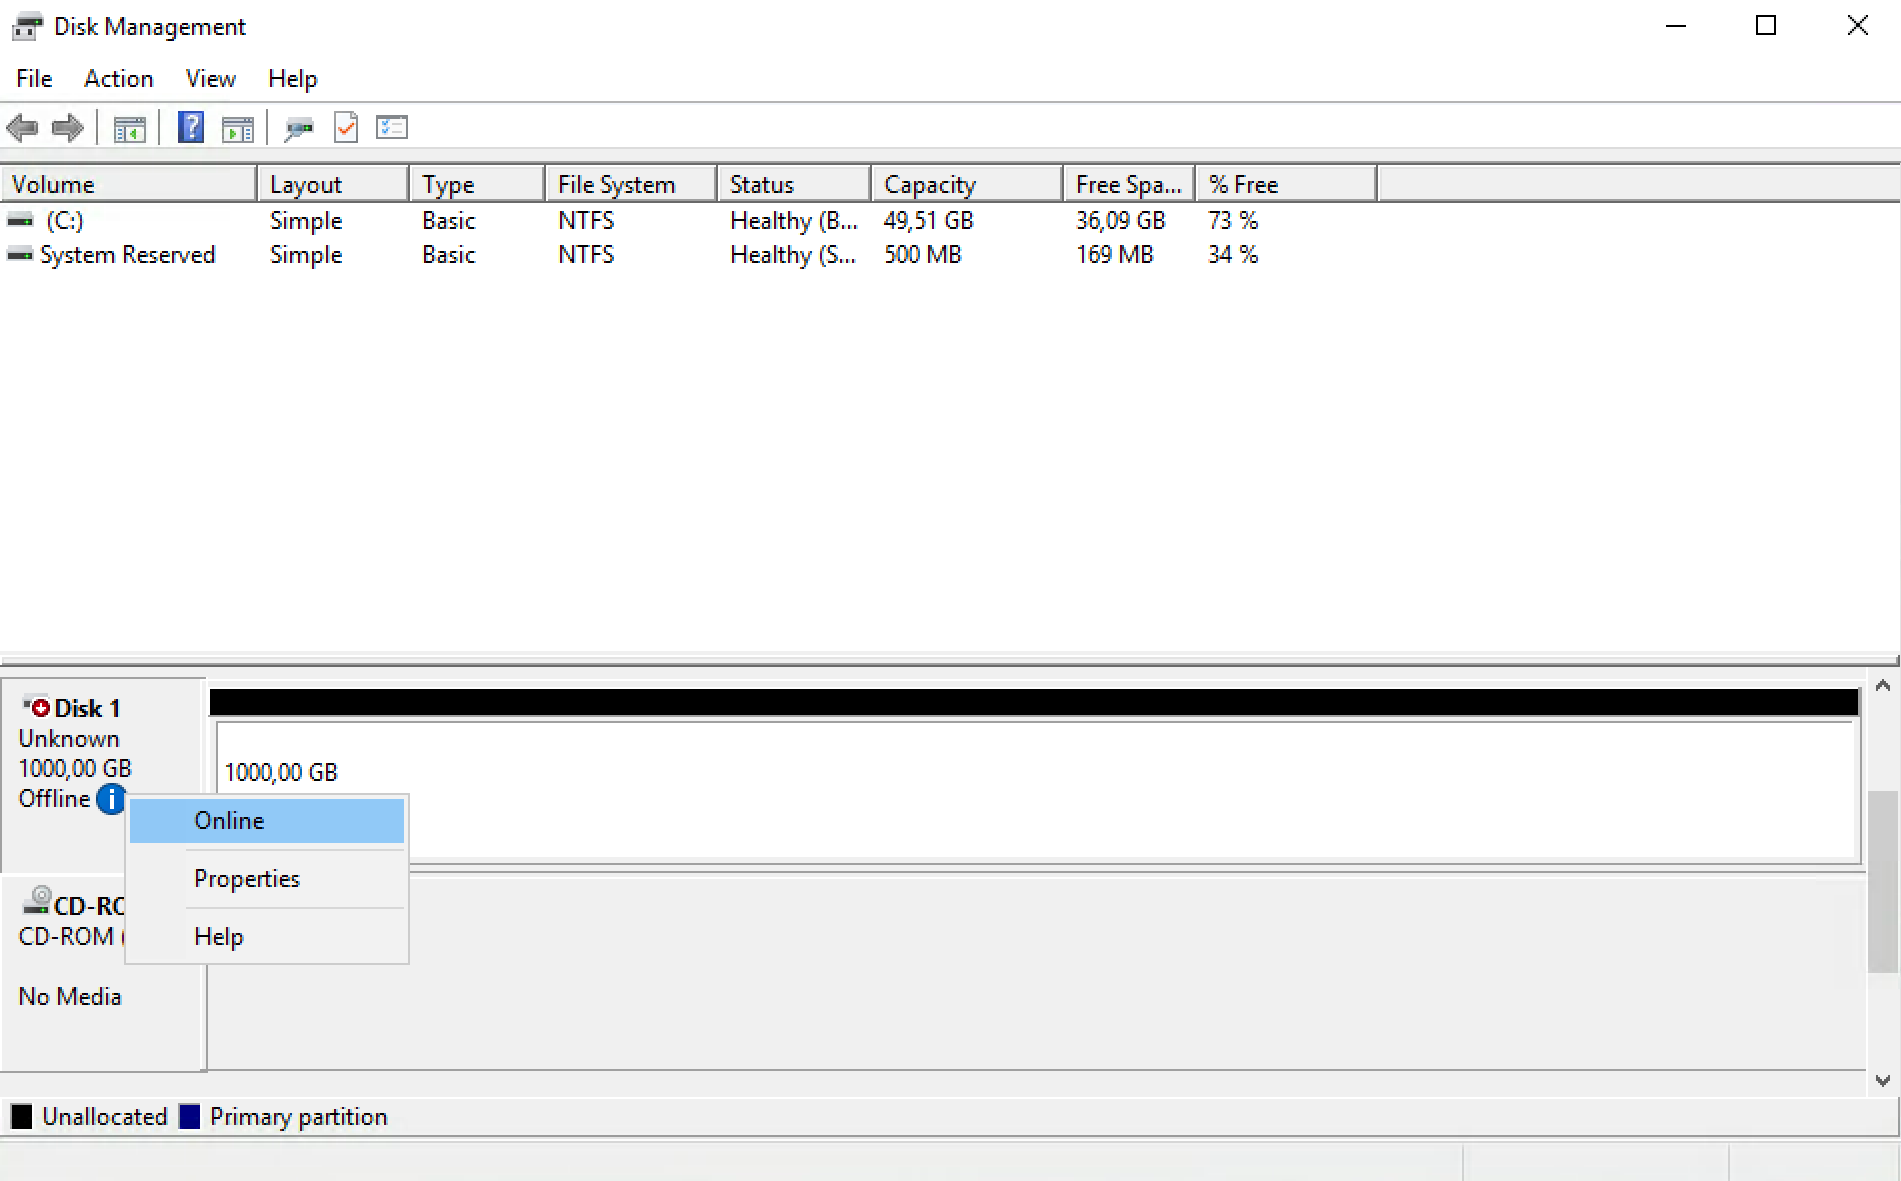
9. Right click on the disk and click on 'Online' to bring the disk online
10. Right click again on the disk and click 'Initialize Disk'

11. Choose your partitioning style and click 'OK'

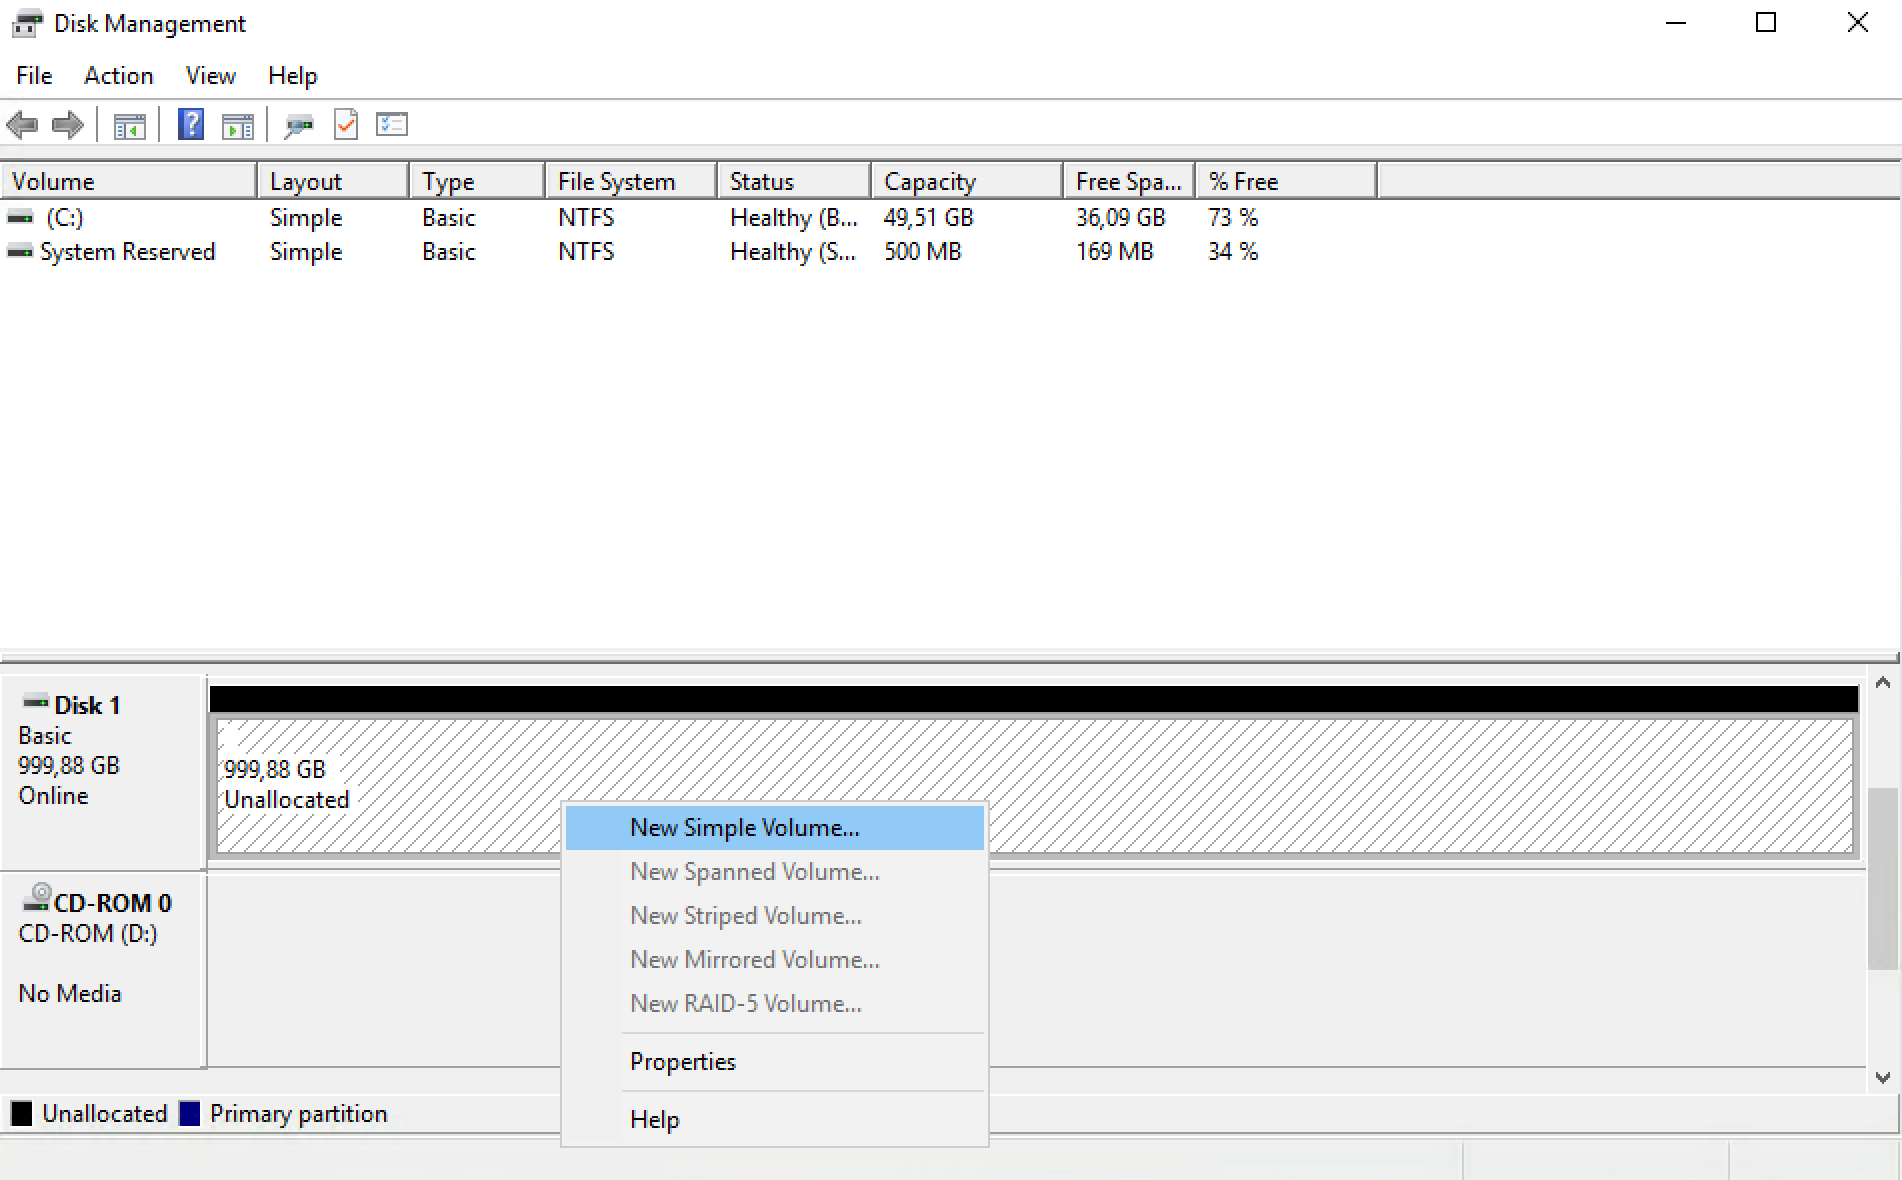
12. Right click on the unallocated space and click 'New Simple Volume'
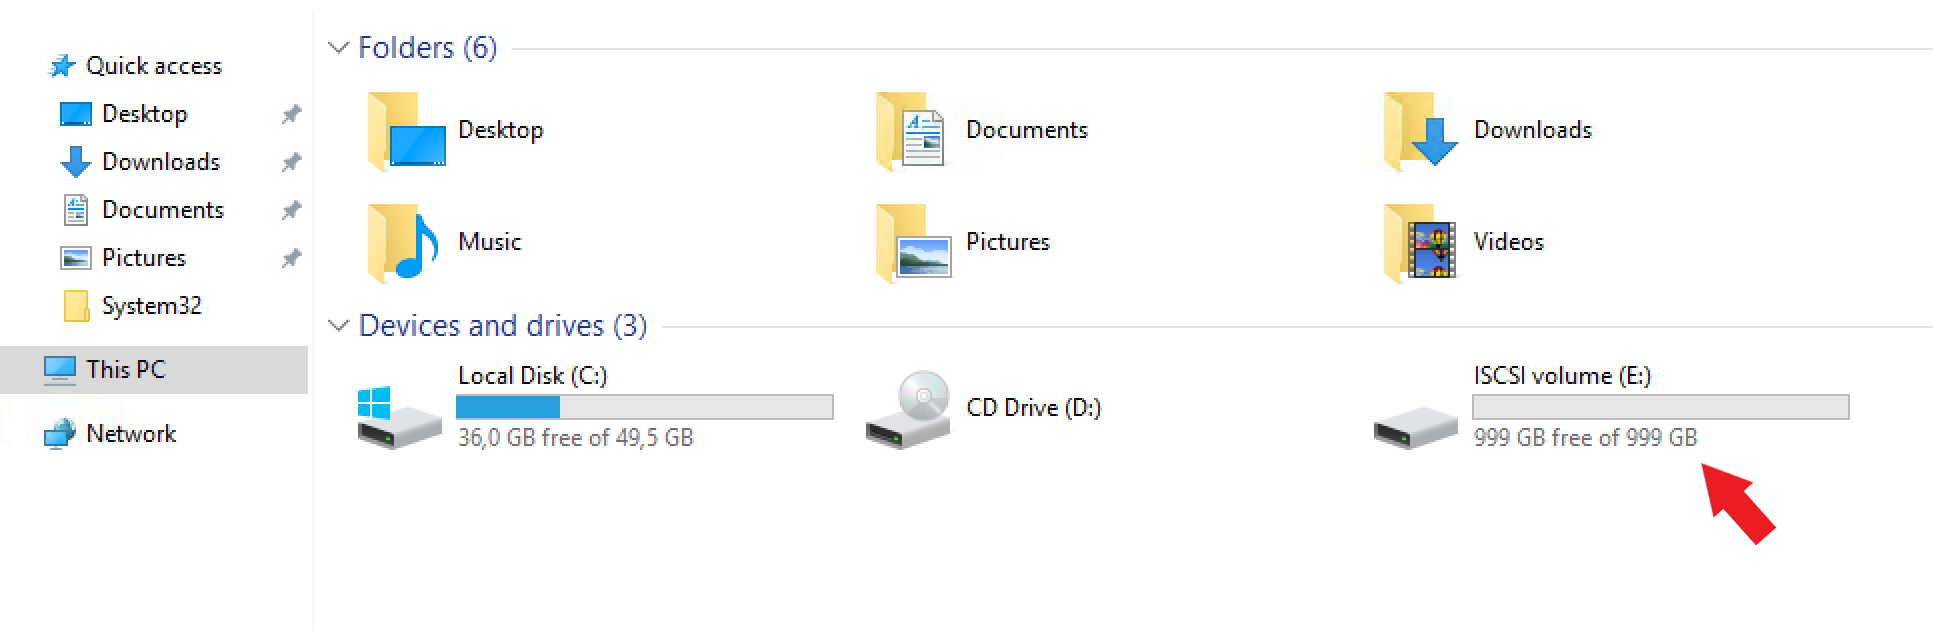
13. Follow the wizard, assign a drive letter and your volume is ready to use
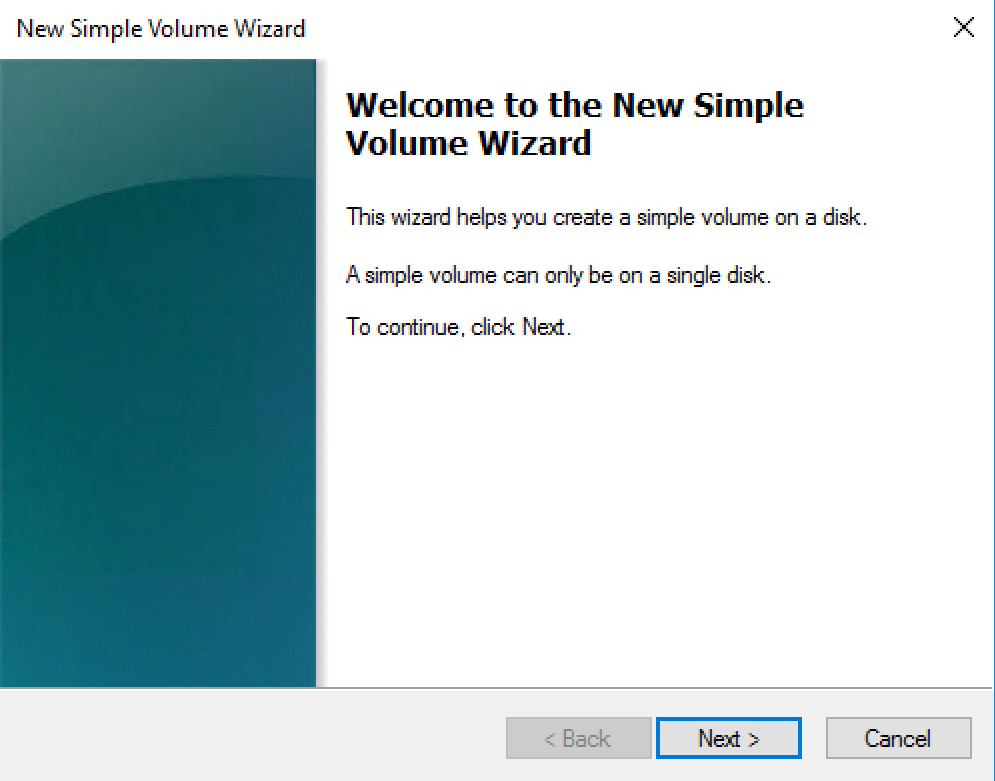
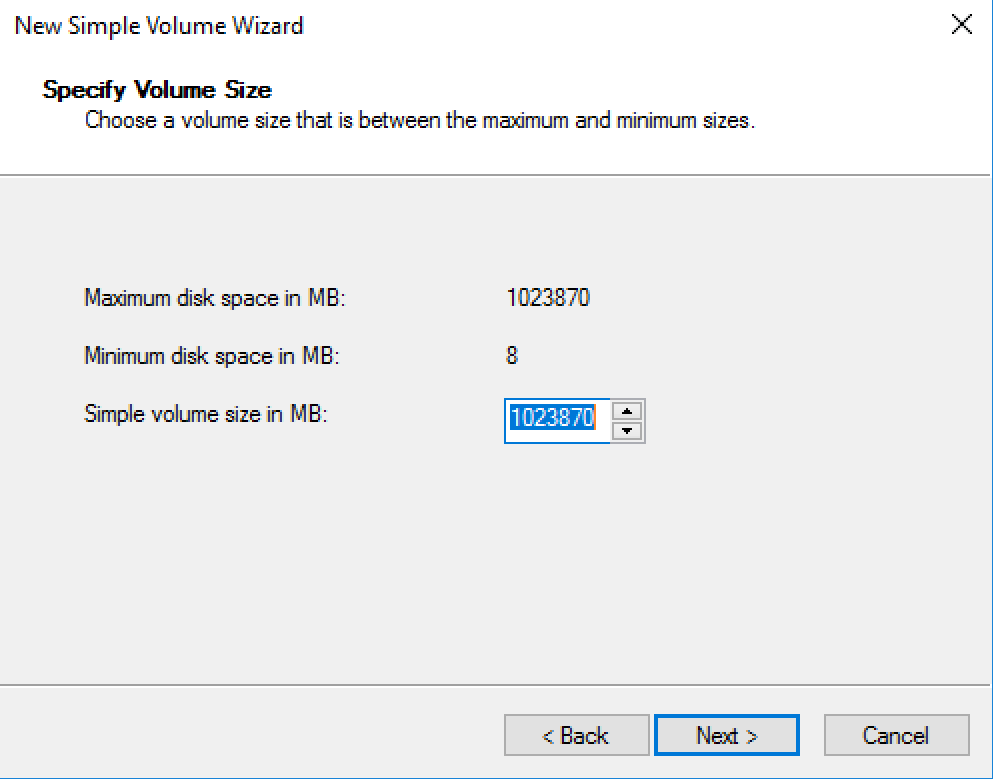

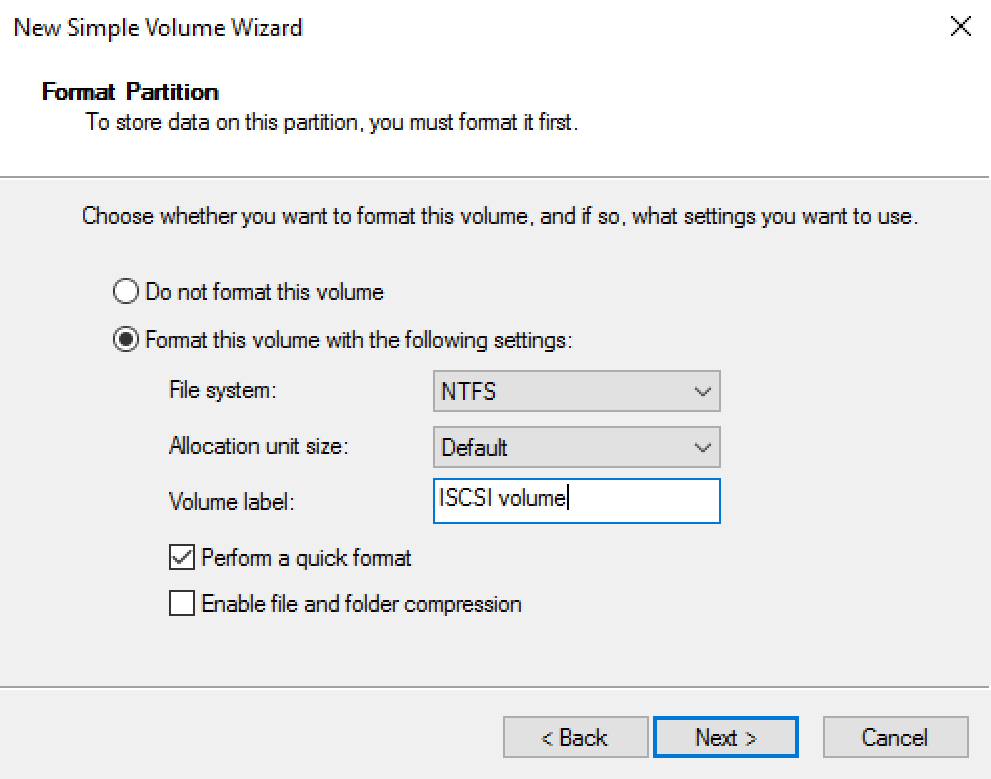
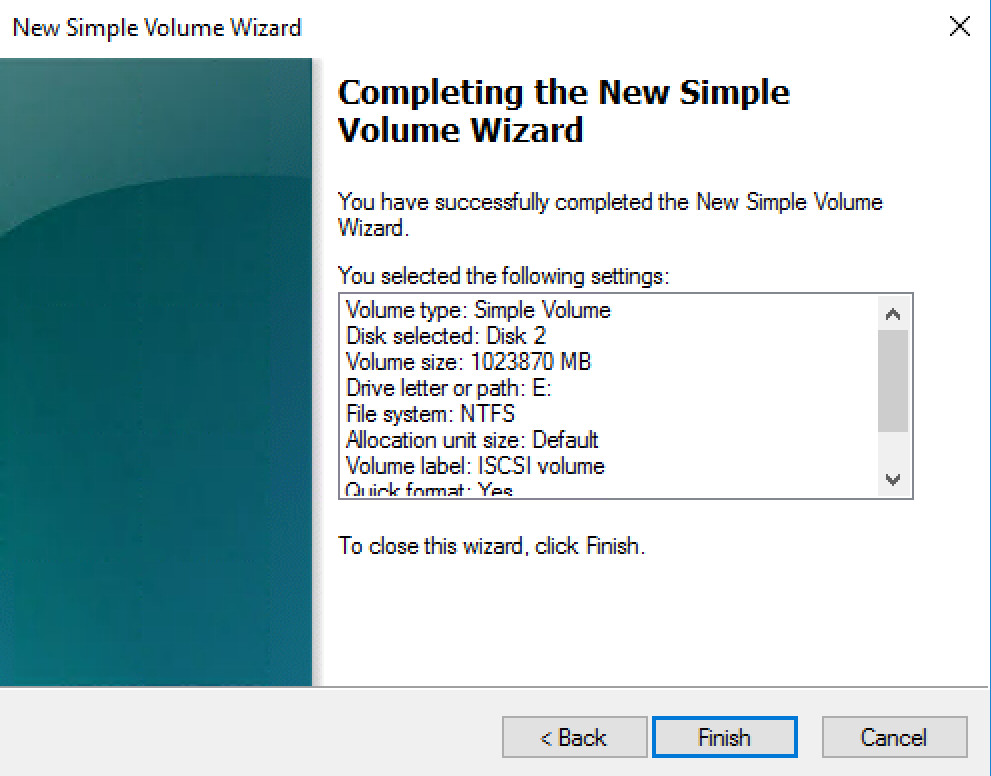
14. The volume is ready to use
How to create a NFS volume?
To create a new volume, you can press the 'Add new volume' button.
You should add a volume name, Size (in TB), Description and Type (NFS).
NFS Client IP Address or Subnet: (mandatory)
IP Addresses that should have access to the volumes.
You can specify it in CIDR notation or IP Address (e.g. 193.190.198.1,193.190.198.1/32 or 193.190.198.0/24).
How do I connect to my NFS volume on Ubuntu Linux?
- Install the NFS client
sudo apt-get install nfs-common - Create your mountpoint:
sudo mkdir -p /mnt/belnet-nfs - Mount the volume:
sudo mount:/mnt/ /mnt/belnet-nfs
Please note that you have to change your IP address and your volume name accordingly.
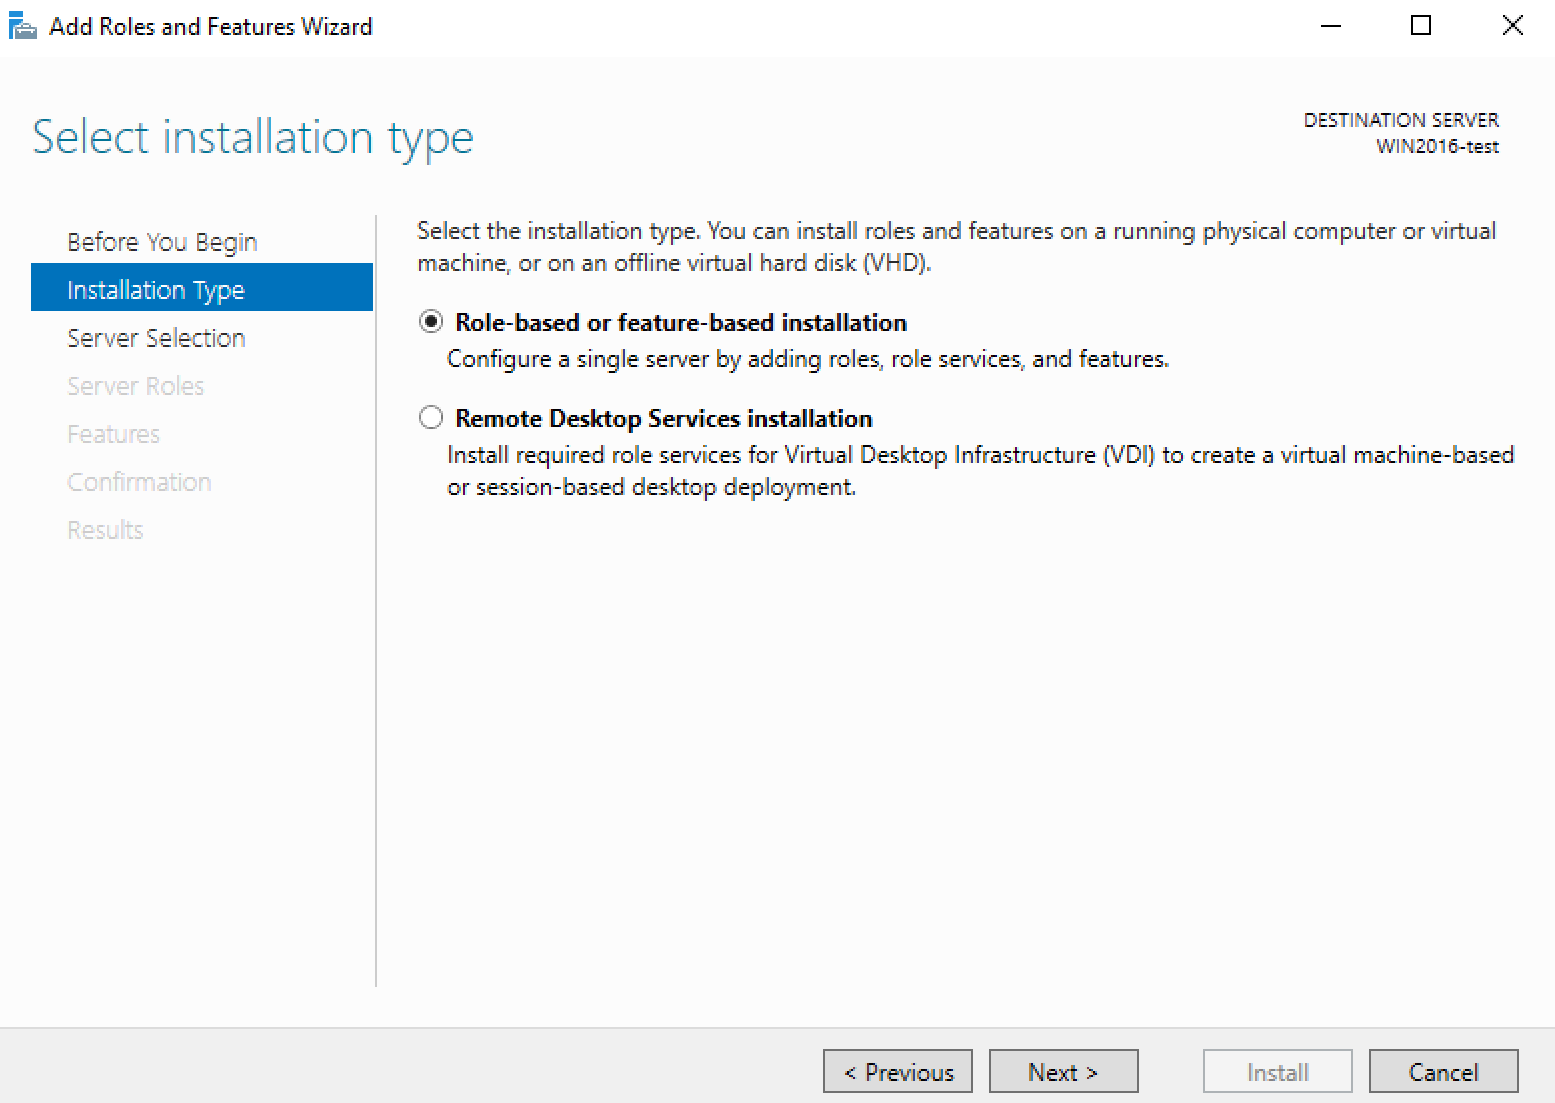
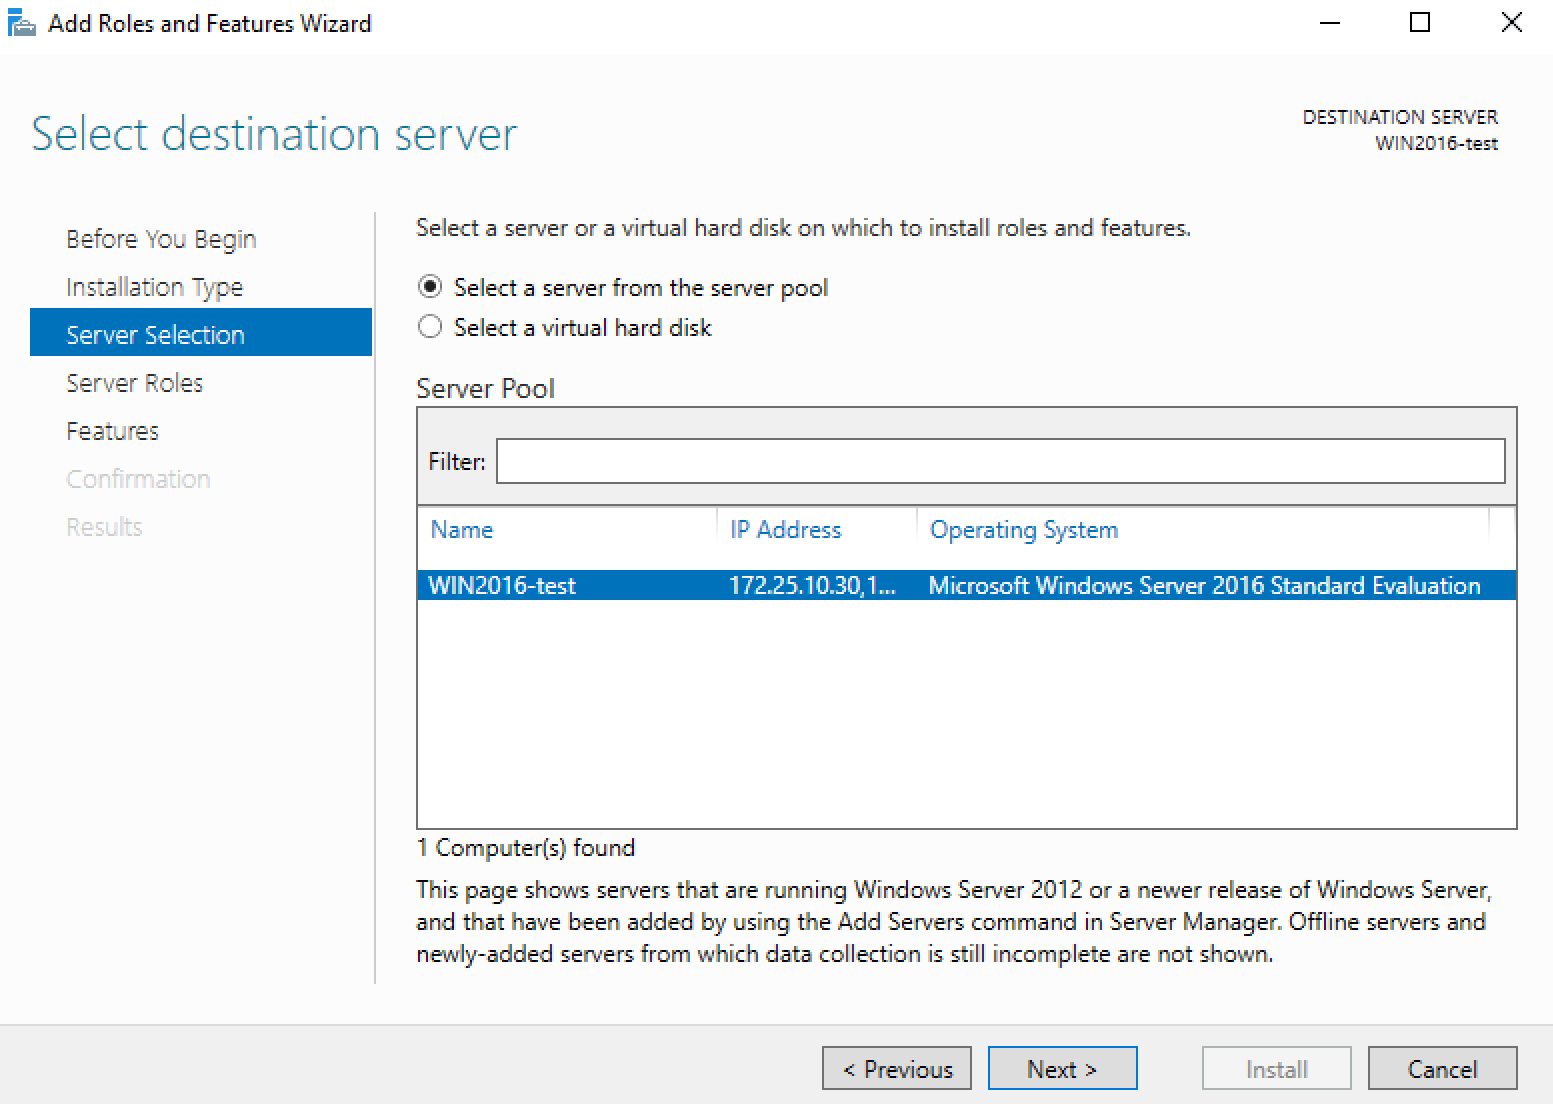
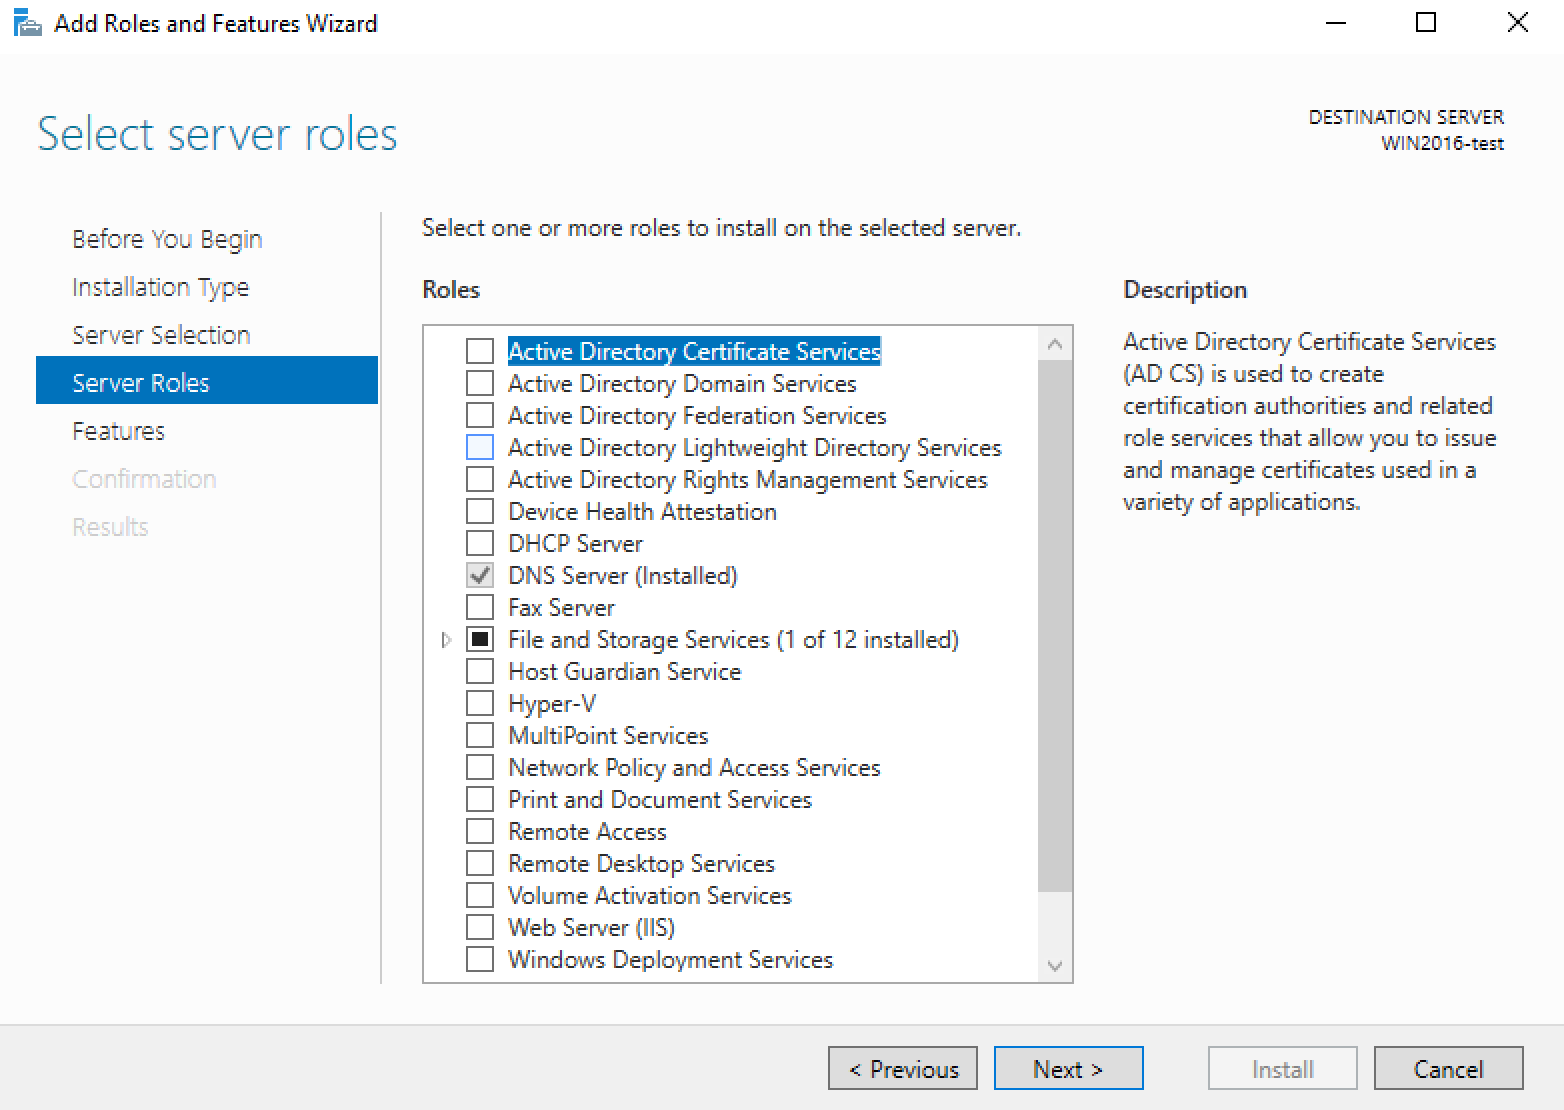
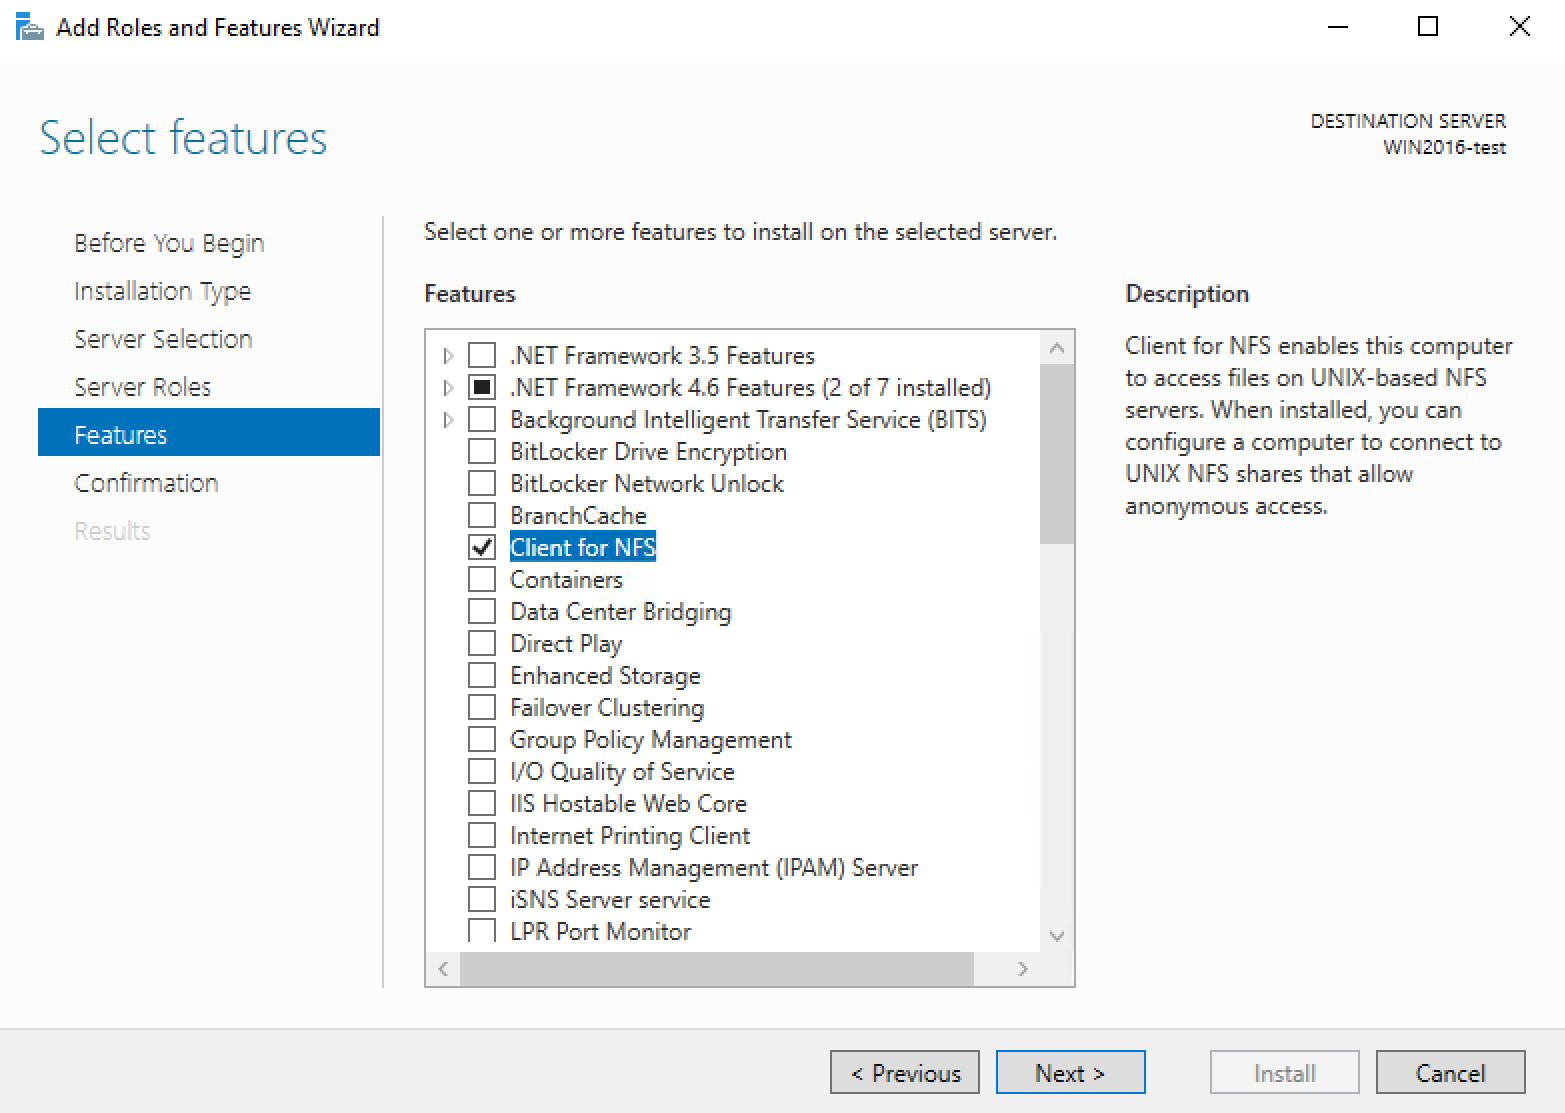
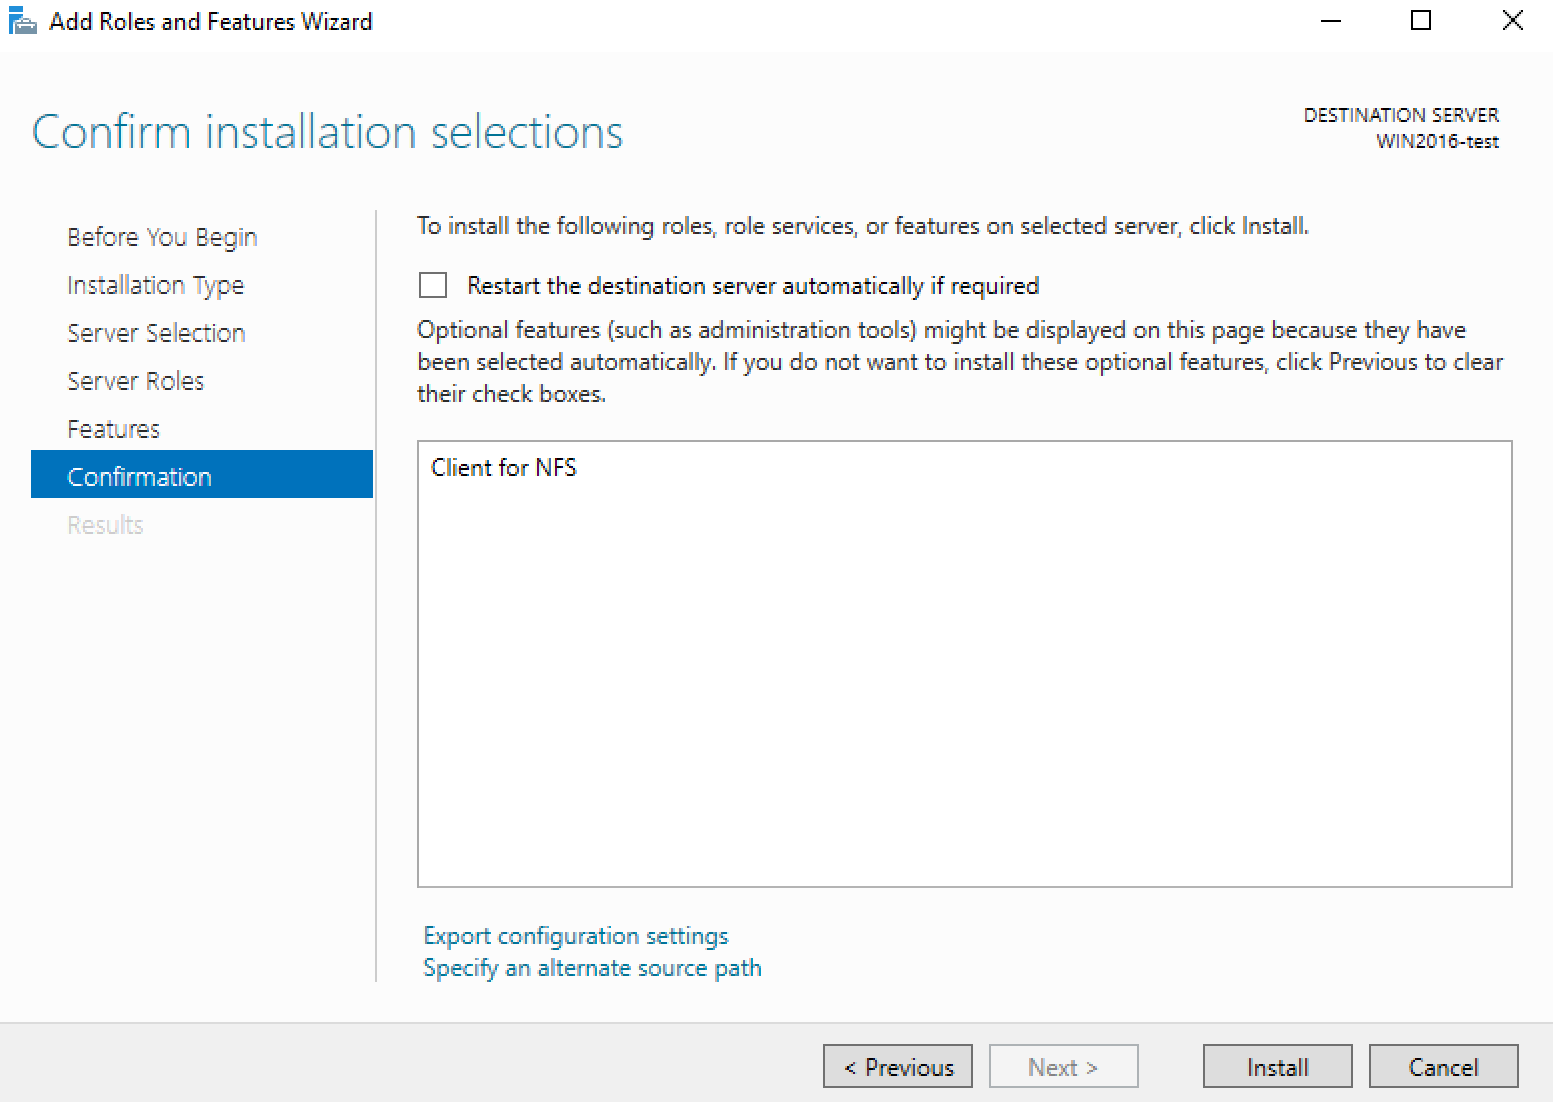
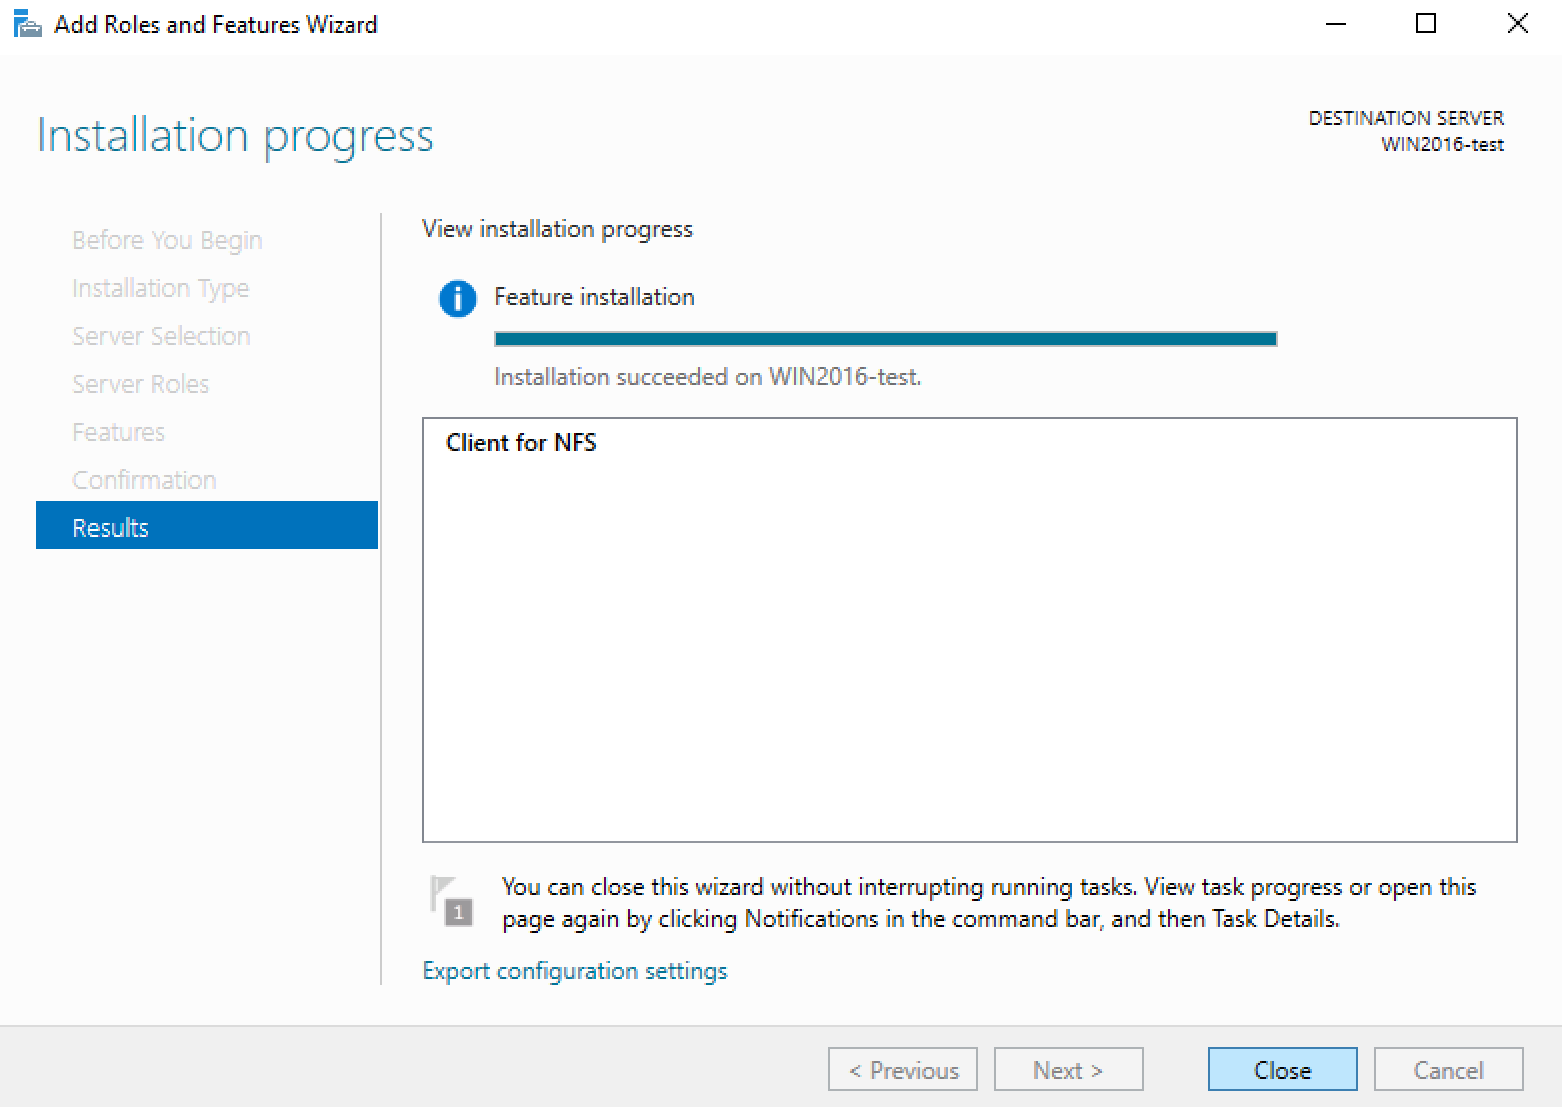
How do I connect to my NFS volume on Windows?
1. Open Windows Server Manager (start => Server manager)
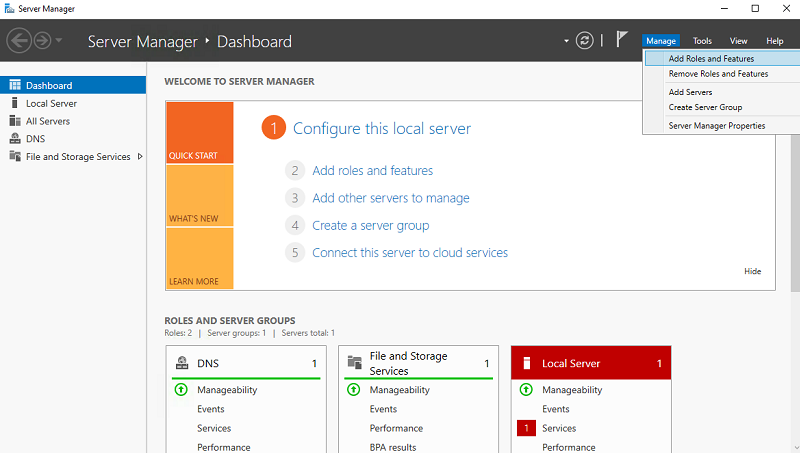
2. Click 'Manage Add Roles'
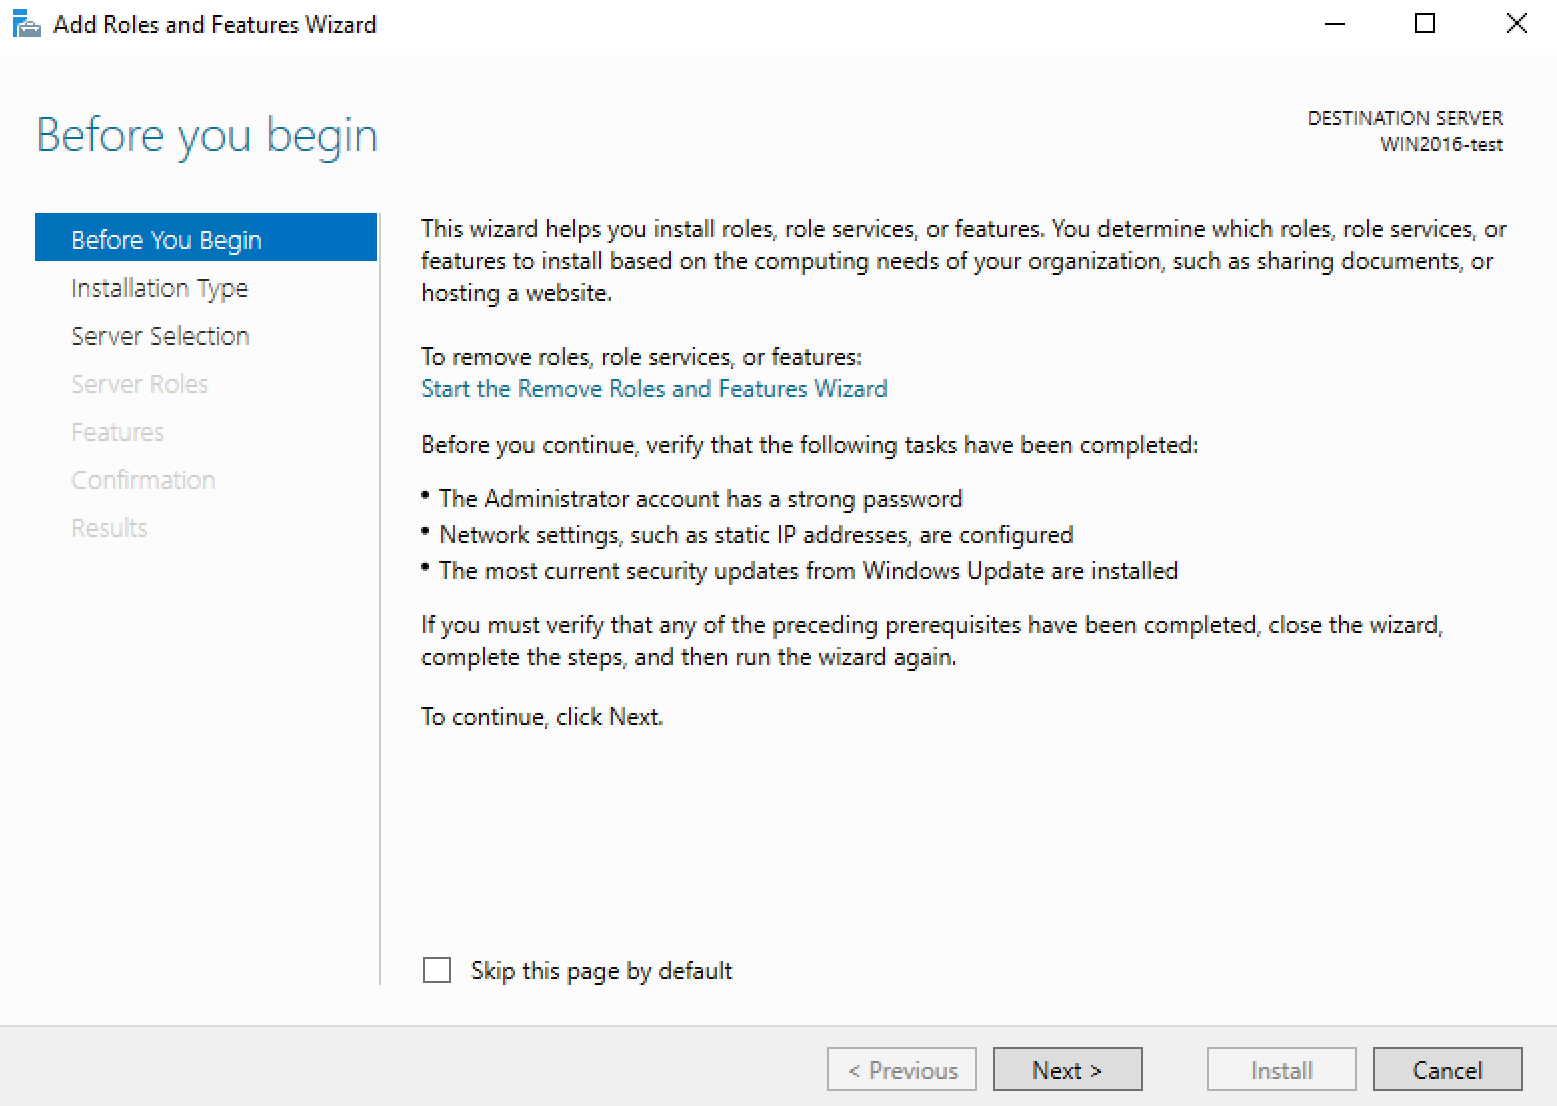
3. Follow the wizard, to install the NFS Client feature.
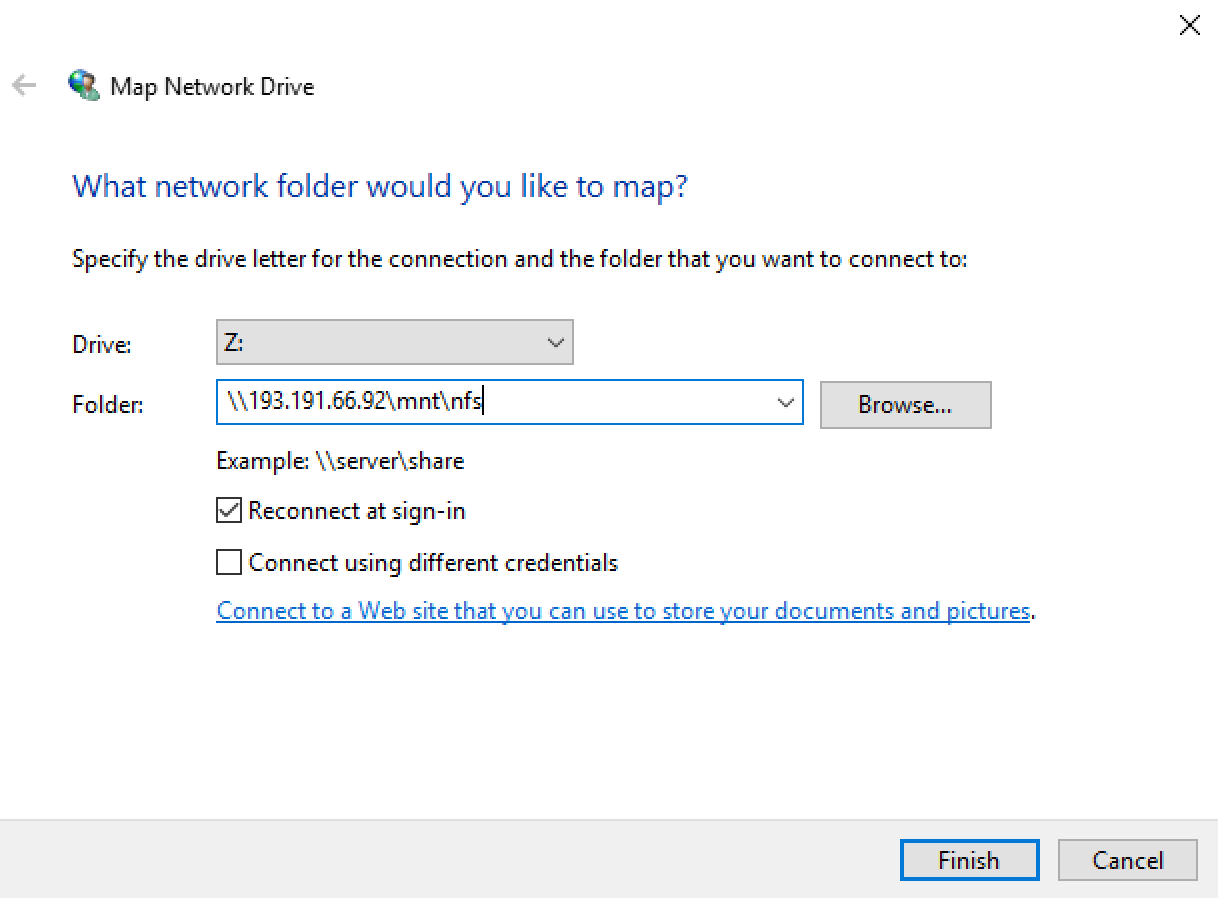
4. Click on Map Network Drive
5. Permission issue
If you have a write permission issue you can resolve it by performing this.
- Run regedit on the Windows machine and locate HKEY_LOCAL_MACHINE\SOFTWARE\Microsoft\ClientForNFS\CurrentVersion\Default
- Add two DWORD values: AnonymousUid and AnonymousGid
- Restart the Client for NFS service or reboot the computer.
*.reg file example for quick adding:
Windows Registry Editor Version 5.00
[HKEY_LOCAL_MACHINE\SOFTWARE\Microsoft\ClientForNFS\CurrentVersion\Default]
"AnonymousUid"=dword:000003e8
"AnonymousGid"=dword:000003e8
How to create an S3 volume?
- Click on "Add new volume".
- Add a volume name
- Select a size (in TB)
- Add a description
- Select the type "S3"
No other parameters should be defined for a S3 volume. The Access key and Secret Key will be generated automatically, and can be retrieved afterwards in the interface.
How to modify an S3 volume?
Only the description can be changed or the credentials can be reset.
What is the purpose of the snapshot feature?
The snapshot function allows you to make a copy of your disks. You can then return to this snapshot later, if necessary. For example, this feature is perfect for avoiding data loss in the event of an important update.
The snapshot are only available for NFS or iSCSI volumes.
How is a snapshot billed?
A snapshot is billed in the same way as traditional storage volumes. If you have for example a volume of 1TB, and you take a snapshot, you are billed for the volume of 1TB and for the snapshot of 1TB. The used quota will also be 2TB after the snapshot is created.
Access to the Belnet Storage interface